Make your own beeswax wraps – here’s how!
In the past few years, a lot of things have been invented or rediscovered, which offer alternatives to cling film, aluminium foil and freezer bags. We’ll tell you how you can make your own beeswax wraps, as well as other container methods and what foods we recommend for which storage areas.
Possibilities for using a beeswax wrap
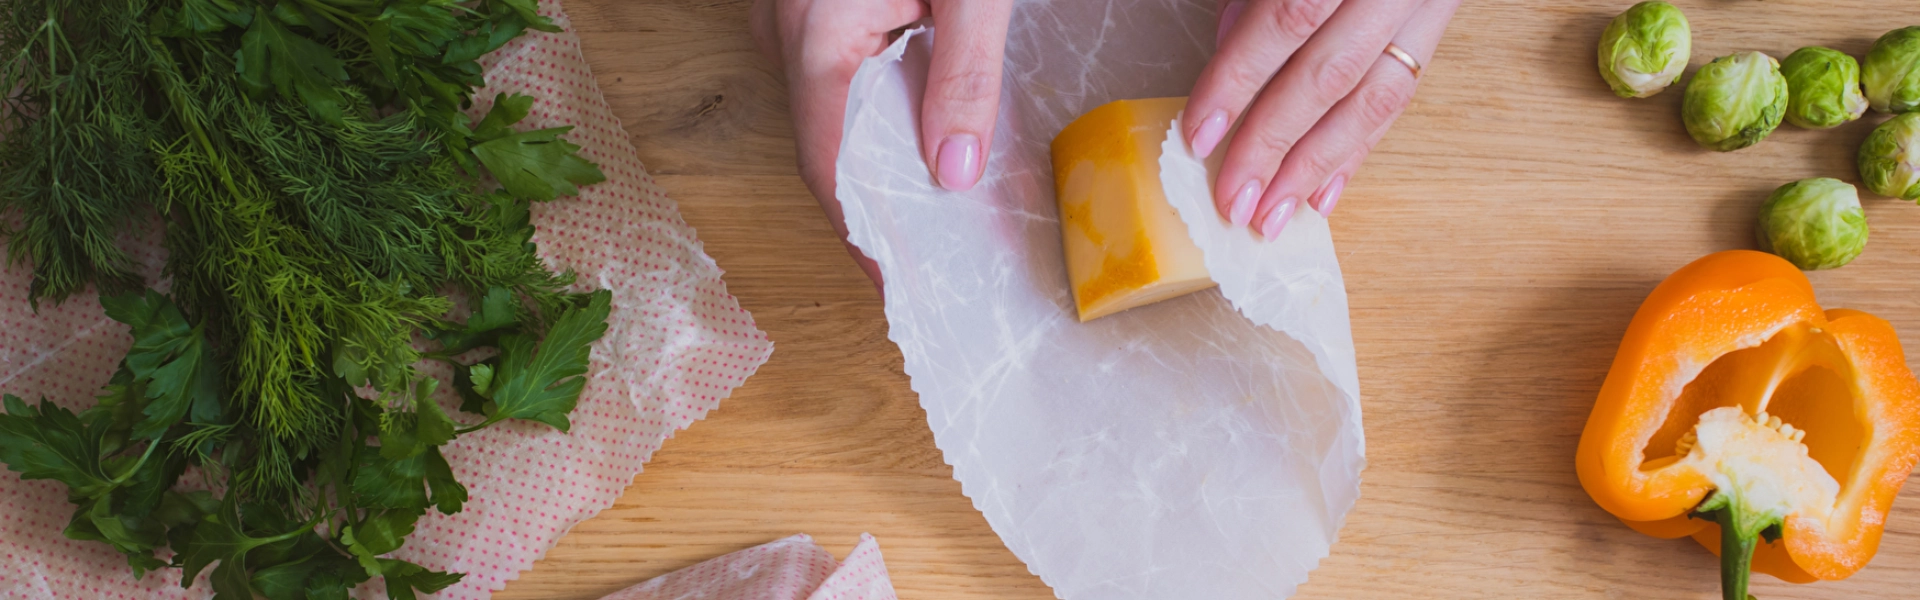
A good alternative to cling film and aluminium foil: a beeswax wrap. They’re great for all plant-based food. However, for animal food products, and raw meats or raw fish in particular, beeswax wraps can only be used under certain circumstances as you can’t clean the wrap with hot water afterwards – the wax would dissolve. Hot food should also never come into contact with the wraps because the wax could melt and run all over the food.
The advantage of beeswax wraps: Beeswax is made of various substances, including pollen but also propolis, which gives the wax its natural antibacterial effects and is, of course, great for food storage. If you’d prefer vegan wax wraps, you could use soya wax, for example, instead of beeswax. If you’d also like to have antibacterial effects similar to propolis, you can add a little coconut oil. As these wax wraps are often quite expensive in the shops, we’ll show you how to make them easily yourself.
Making your own beeswax wraps
Ingredients for beeswax wraps
- Leftover pieces of cloth that are still in good shape (preferably made of organic cotton)
- Beeswax or soya wax
- A little coconut oil
- Scissors, preferably pinking shears, so the edges don’t fray
- An iron, oven or hob
- Possibly a brush
3 different ways to make your own beeswax wraps
Keep in mind, beeswax isn’t suitable for food items that are still hot, but, because of the antibacterial properties of propolis, it’s great for food storage. There are three ways to make beeswax wraps:
- Using an iron (always cover the wax with baking parchment)
- In the oven (5 min at 85 °C top and bottom heat)
- On the hob (especially useful when making several wraps at once)
First, cut your cloth down to the desired size. For a 25 x 25 cm wrap, you’ll need about 25 g beeswax and 5 ml coconut oil. If you’re using soy wax, add a little extra coconut oil. Now you have three options available: using an iron, the oven or a hob.
If you’re making your wraps using an iron, first place the cloth on a piece of baking paper. Add the wax and the oil to the piece of cloth. As the wax normally comes in small, hard drops, it can spread easily over the entire cloth. Place a second layer of baking parchment over the wax. Now iron the cloth through this last layer of parchment, until the beeswax is well distributed and well soaked in.
If you’re making your wraps in the oven, place a cloth on top of a baking tray lined with baking paper and place the wax and the oil on top of the cloth. Bake everything at 85 °C for roughly five minutes using top and bottom heat. The wax should now be runny. Use a brush to distribute the wax as needed. Let the cloth cool and check if the wax is well distributed and well soaked in.
If you’re making your wraps on the hob, consider heating up a large amount of wax/oil mixture and doing several beeswax cloths at once. As soon as the wax is fluid, dunk your pieces of cloth into the wax, one at a time, and let them dry.
Other alternatives to cling film
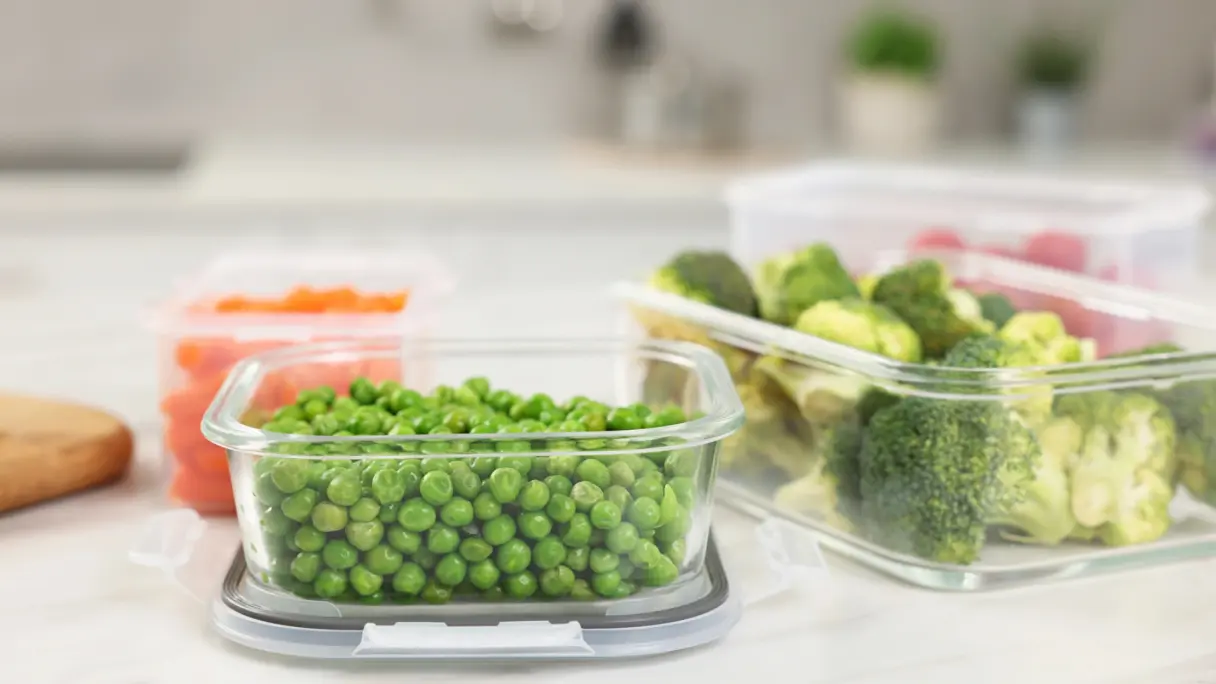
Besides wax wraps, there are of course other alternatives to cling film that you can use to store your food in a more environmentally friendly manner. For one thing, you could store all of your food in your Liebherr fully integrated fridge in plastic, metal or glass storage containers. In particular, meals that you’ve already cooked that contain tomatoes, curry, beetroot or other similar foods are not ideal for plastic, as plastic stains easily.
The easiest alternative is simply to put the food into a bowl and cover it with a plate. This is also a good method when you can’t find the right lid for your container or you don’t have any more containers. A simple jam jar also does the job quite nicely. After you’ve eaten all the jam, you can just wash it in the dishwasher or with hot water and use it later for storing other food items. Somewhat larger jars, like for apple sauce, are great for storing dried lentils, couscous or quinoa.
If you’ve got yoghurt jars or pots you can’t find the lids to any more, consider using reusable silicone lids, making sure of course to wash them thoroughly after every use. They’re an easy and flexible alternative to normal lids.
Alternatives to cling film at a glance
- Use storage containers instead of covering open bowls with cling film
- Don’t store foods in plastic that have a tendency to cause stains
- Reuse jam or apple sauce jars to store dried goods
- Reusable silicone lids on open yoghurt pots are a great replacement for cling film
Freezing without plastic
Yes, even filled jars or glass containers can be frozen. Just make sure the containers are no more than three-quarters full. If you’d like to freeze bread or rolls, you can simply freeze them for short periods of time in the bread bags you bought them from the baker in. You can even use a cloth bag. One last freezer trick: Use your ice-cube tray to freeze fresh herbs individually or as a pre-portioned mixture. The important thing is to use ice cube trays with lids in order to avoid freezer burn. Add a little water, oil or butter to the chopped herbs before freezing, and thaw out a cube whenever you need it.
Quick info on freezing without plastic:
- Store bread and rolls in the baker’s bag or an organic tote bag
- You can freeze fresh herbs along with water, oil or butter in an ice-cube tray
This might also interest you
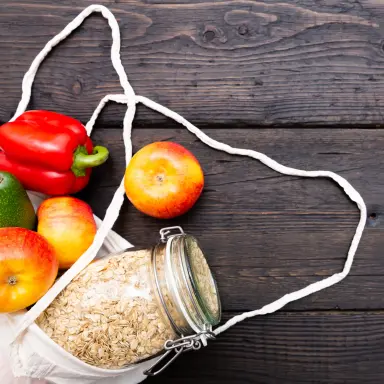
Buying and storing unpackaged food
Would you like to shop more sustainably in future? With unpackaged food, you are taking a step towards greater sustainability. We’ll show you.

Freezing without plastic using these alternatives
Freezing without plastic: discover sustainable alternatives such as glass, stainless steel and wax wraps to keep food fresh in an environmentally friendly way!
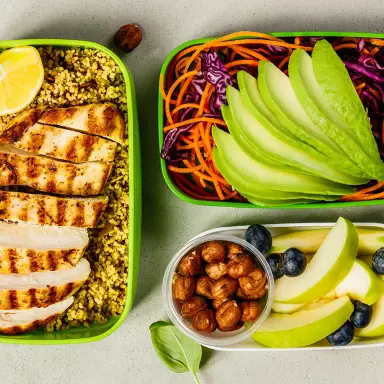
What is meal prep? – It’s this easy to prepare food to eat on the go
You may still ask yourself the question “What is meal prep?”, but you’ll soon be an expert. In this article, we’ll tell you everything you need to know about meal prepping.